7 Signs Your Car Needs New Spark Plugs

Feb 29, 2024

7 Signs Your Car Needs New Spark Plugs


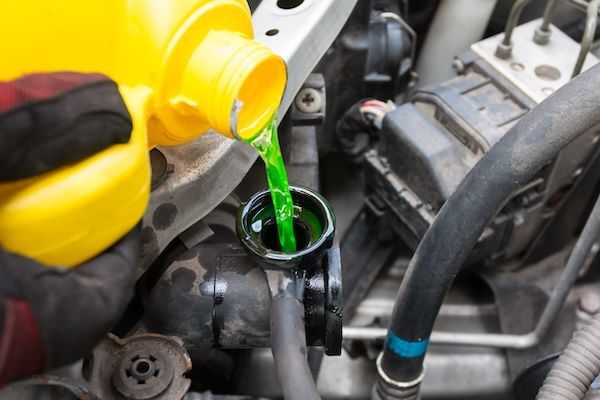
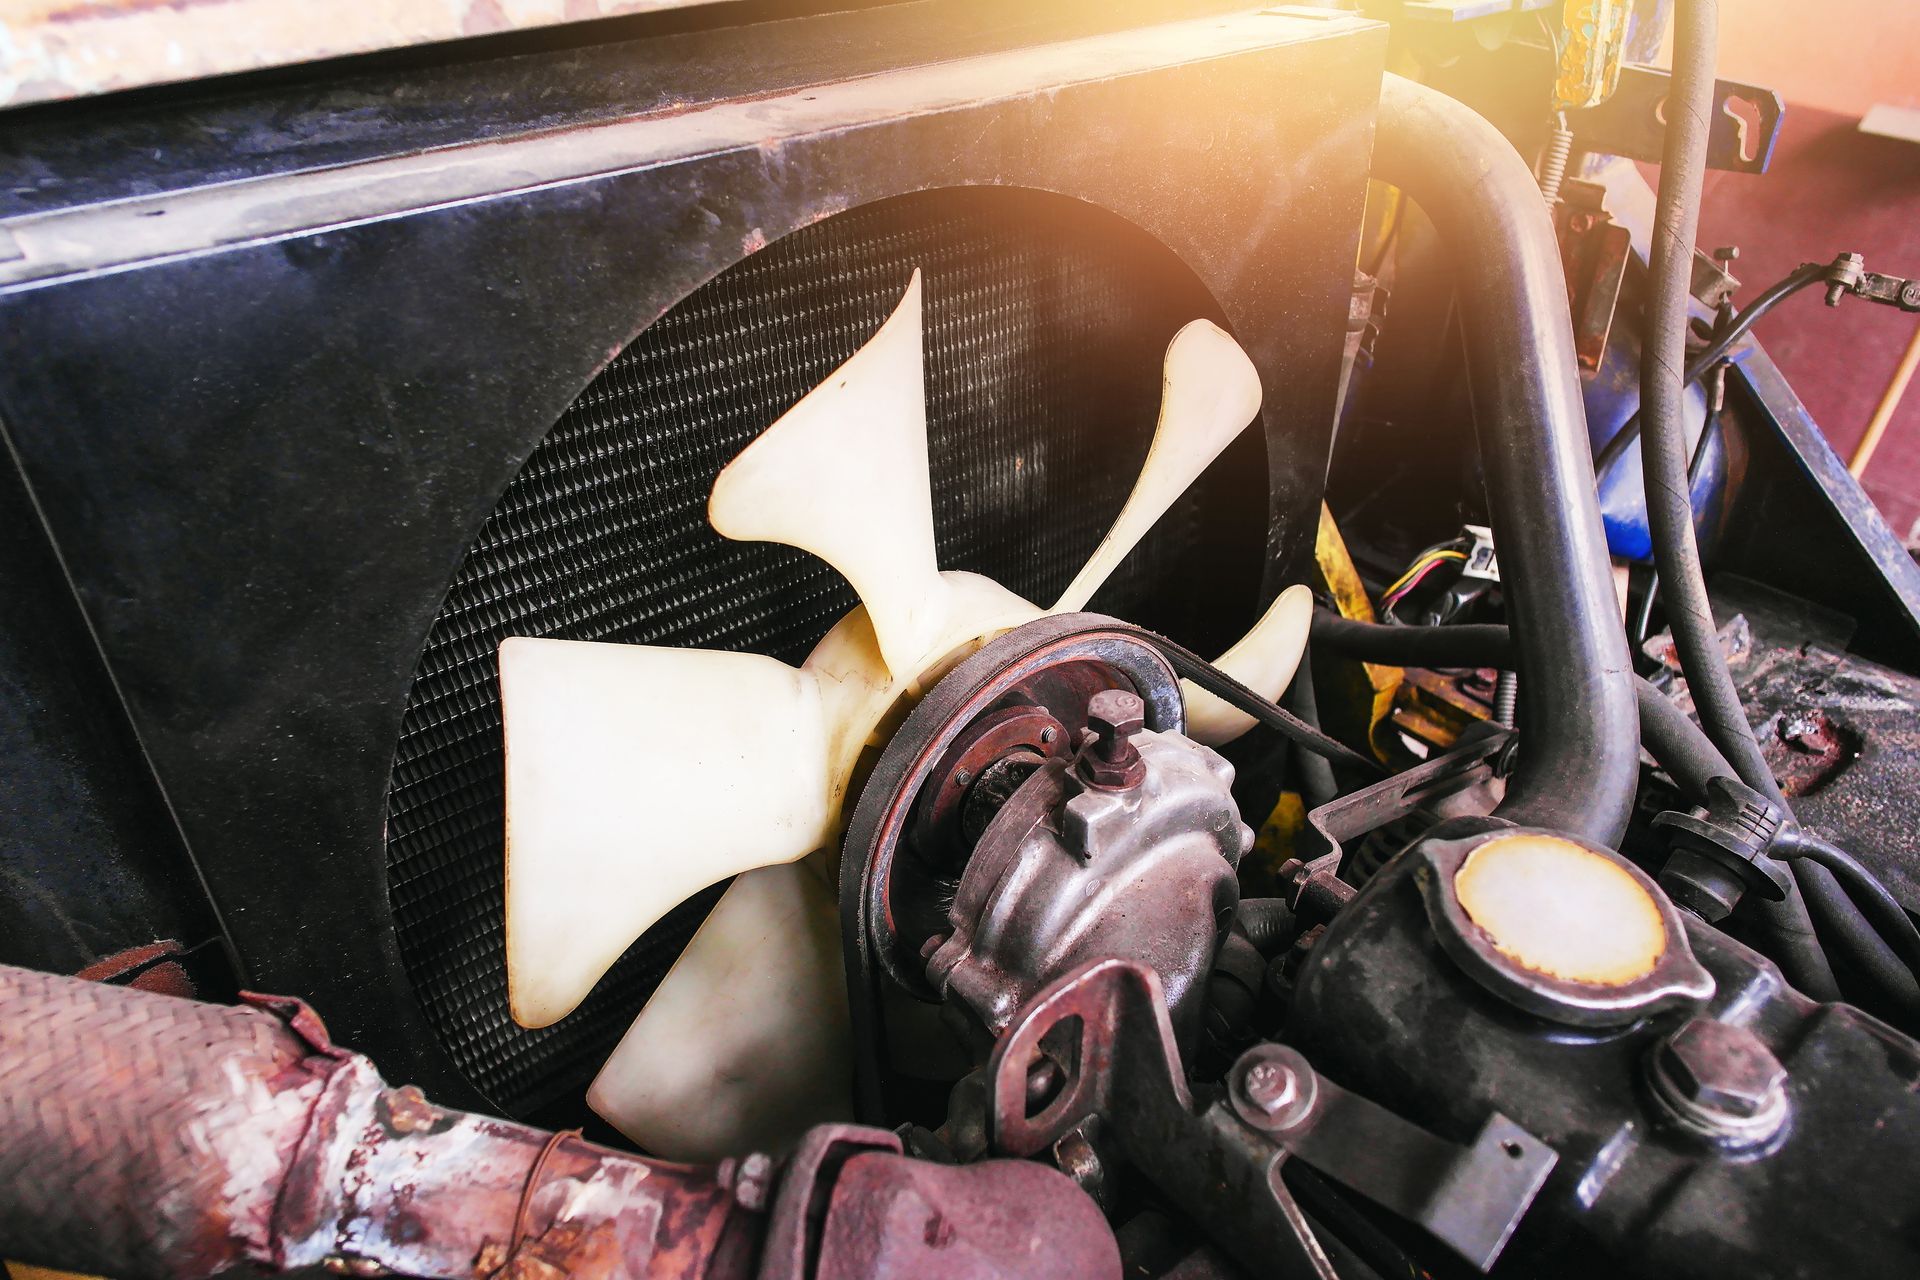
As a car owner, keeping your vehicle in optimal condition is essential for smooth and efficient operation. Among the many components that contribute to your car's performance, spark plugs play a crucial role in igniting the air-fuel mixture within the engine cylinders. 


However, spark plugs can wear out over time, leading to various issues that affect engine performance and fuel efficiency.


Sign #1: Difficulty Starting the Engine


One of the most noticeable signs of worn spark plugs is difficulty starting the engine, especially in cold weather or after the car has been sitting for an extended period. If you find yourself needing to crank the engine multiple times before it starts or experiencing delayed ignition, it may be time to replace your spark plugs.


Sign #2: Engine Misfires or Rough Idling


A rough or uneven idle, accompanied by noticeable vibrations or shaking, can indicate misfiring cylinders due to worn or fouled spark plugs. When spark plugs fail to ignite the air-fuel mixture properly, it can result in incomplete combustion and engine misfires, affecting overall performance and fuel economy.


Sign #3: Poor Acceleration and Power Loss


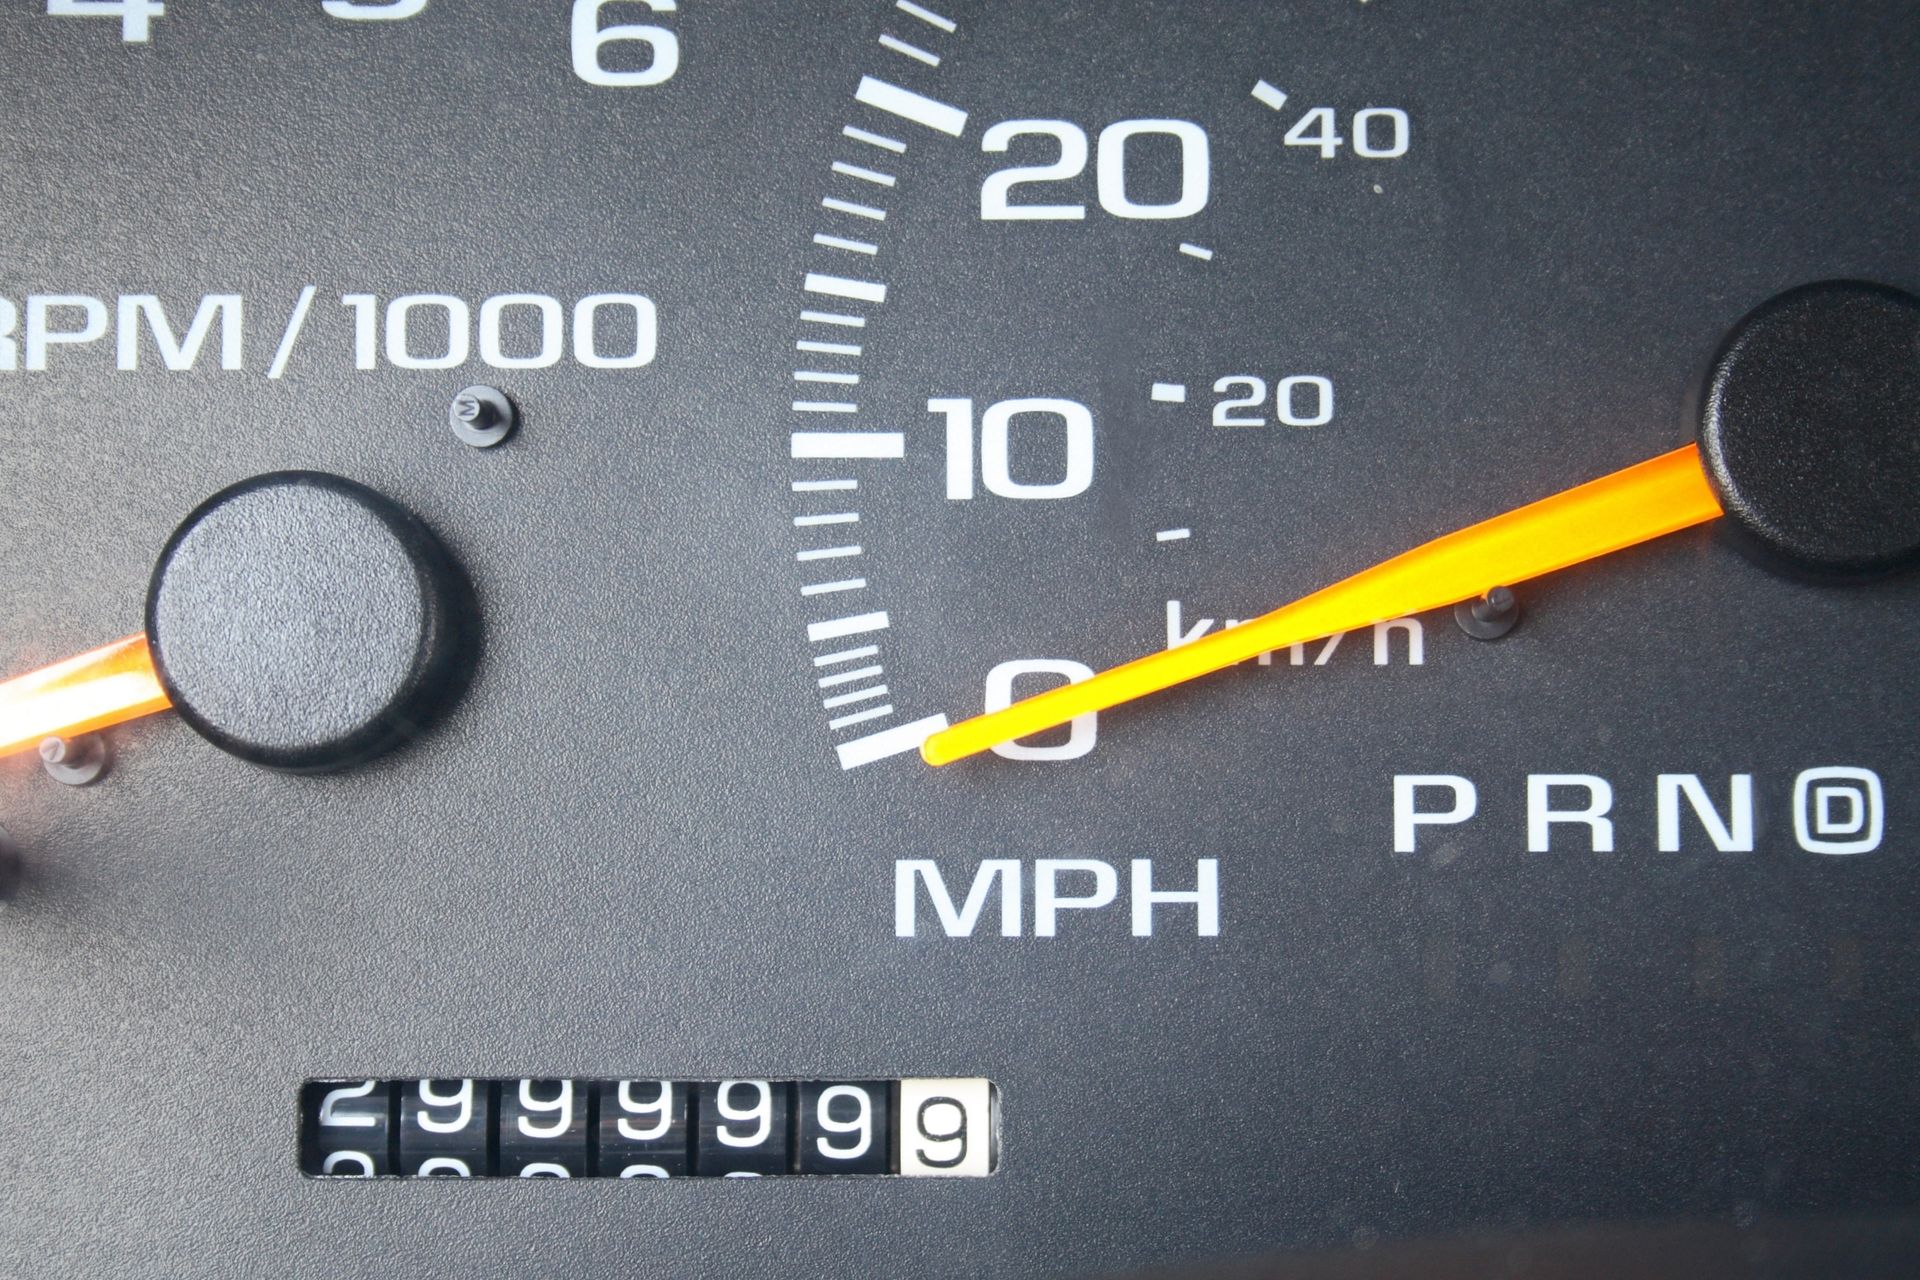
Worn spark plugs could be to blame if you notice a significant decrease in engine power or sluggish acceleration. Faulty spark plugs can lead to inefficient combustion, resulting in reduced engine power and slower acceleration response, especially when attempting to accelerate quickly or climb steep inclines.


Sign #4: Increased Fuel Consumption


Worn or fouled spark plugs can contribute to decreased fuel efficiency, as they may fail to ignite the air-fuel mixture efficiently, leading to incomplete combustion. If you find yourself making more frequent trips to the gas station or notice a sudden drop in fuel economy, it's worth checking the condition of your spark plugs.


Sign #5: Engine Knocking or Pinging Sounds


Excessive engine knocking or pinging noises, especially under load or during acceleration, can indicate detonation caused by ineffective spark plug operation. When spark plugs fail to ignite the fuel mixture properly, it can result in premature combustion and abnormal engine noises, which should be addressed promptly to prevent damage.


Sign #6: Visible Wear or Deposits on Spark Plugs


During routine maintenance inspections, visually inspecting the condition of your spark plugs can provide valuable insights into their health. Look for signs of wear, such as eroded electrodes or deposits of carbon and oil, which can indicate that your spark plugs are reaching the end of their lifespan and may need replacement.


Sign #7: Check Engine Light Illumination


Finally, if your vehicle's onboard diagnostic system detects a problem with the engine or emissions system, it may illuminate the check engine light on the dashboard. While a check engine light can indicate various issues, including those unrelated to spark plugs, it's essential to have the vehicle diagnosed by a professional mechanic to determine the underlying cause.


Answering Your Questions


Can I replace spark plugs myself, or do I need to visit a mechanic?


While changing spark plugs is manageable for experienced DIYers, it's crucial to follow the correct procedures and use the proper tools. If unsure, it's best to consult a mechanic.


How often should spark plugs be replaced?


Spark plug replacement intervals vary based on factors like vehicle type and driving conditions. Generally, they should be changed every 30,000 to 100,000 miles.


What are the benefits of upgrading to high-performance spark plugs?


High-performance spark plugs offer improved ignition efficiency, better fuel economy, and increased engine power. However, ensure compatibility with your vehicle for optimal performance.


Are your spark plugs used up? Contact Gerry's Service, schedule an appointment, and we will take care of the change and all other maintenance and repair procedures. 


Should I Warm Up My Car Before Driving? | Gerry's Service
26 Apr, 2024
Is idling your car a waste of gas? Gerry's Service explains the truth about warming up your car in cold weather and how to keep the engine healthy.
What Maintenance Services Should Be Paired Together For Best Results | Gerry's Service
29 Mar, 2024
Maximize efficiency and save money! Gerry's Service reveals which car maintenance services pair best for optimal performance.
How To Make Your Car More Fuel Efficient - Simple and Easy Guide | Gerry's Service
27 Jan, 2024
Making your car more fuel efficient has never been easier. Join Gerry's Service and discover one of the best guides related to fuel economy, helpful tips, and overall vehicle maintenance.
Engine Maintenance Tips & Tricks You Need To Know | Gerry's Service
By Aleksandar Todorov 23 Dec, 2023
Gerry's Service shares professional insight and tips to optimize and extend your engine's lifespan, making it more efficient and reliable!
How Can Computer Diagnostics Benefit My Hybrid Vehicle | Gerry's Service
29 Nov, 2023
How Can Computer Diagnostics Benefit My Hybrid Vehicle
Decoding the Check Engine Light - 5 Must Know Causes | Gerry's Service
28 Oct, 2023
Don't let the check engine light keep you in the dark - discover the solutions to keep your car running smoothly with Gerry's Service!
Close Up of Engine | Gerry's Service in East Amherst, NY
30 Sep, 2023
When Is Carbon Cleaning Necessary? The engine of your car plays a pivotal role in its overall performance, functioning as its very core. Similar to any essential organ, it necessitates careful attention to ensure optimal operation. Regrettably, one vital aspect of engine maintenance that is frequently disregarded is carbon cleaning. This procedure is akin to a revitalizing breath for your vehicle, effectively eliminating detrimental carbon deposits that can impede its performance and lifespan. The Carbon Cleaning Process Carbon cleaning, also known as decarbonization, is a specialized procedure designed to remove carbon deposits that accumulate within your engine over time. These deposits can form on various engine components, including intake valves, fuel injectors, and the combustion chamber. The buildup of carbon can negatively impact your car's performance, fuel efficiency, and emissions. During carbon cleaning, a professional technician uses specialized equipment to introduce a solution into the engine that breaks down and dissolves carbon deposits. This solution is then flushed out, taking the loosened carbon with it. The result is a cleaner and more efficient engine. Why Carbon Cleaning Is Good for Your Car Improved Performance: Carbon buildup can hinder the proper functioning of engine components. Removing these deposits can restore lost power and responsiveness to your car. Enhanced Fuel Efficiency: When carbon deposits accumulate on fuel injectors and intake valves, it can disrupt the air-fuel mixture, leading to decreased fuel efficiency. Carbon cleaning can help your car run more efficiently, saving you money on gas. Reduced Emissions: A cleaner engine burns fuel more efficiently, which can lead to reduced emissions. This is not only better for the environment but also ensures your vehicle meets emissions standards. Extended Lifespan: Regular carbon cleaning can help prolong the life of your engine. By preventing excessive carbon buildup, you can reduce the risk of costly repairs down the road. When Is Carbon Cleaning Necessary? Carbon cleaning is typically recommended as part of your car's regular maintenance schedule. However, there are specific signs that may indicate the need for immediate carbon cleaning: Loss of Power If you notice a decrease in your car's power and acceleration, carbon buildup could be to blame. Rough Idle An uneven or rough idle can be a sign of carbon deposits affecting the combustion process. Reduced Fuel Efficiency A sudden drop in fuel efficiency could indicate carbon-related issues. Excessive Emissions If your vehicle fails an emissions test, carbon buildup might be the culprit. Carbon cleaning is an essential aspect of engine maintenance that can significantly benefit your car's performance and longevity. By keeping your engine free from harmful carbon deposits, you'll enjoy improved power, fuel efficiency, and reduced emissions. Make sure to consult with a professional auto technician at Gerry's Service in East Amherst, NY, to determine the best schedule for carbon cleaning to keep your car running smoothly for years to come. We are always offering honest and helpful advice to our beloved customers.
31 Aug, 2023
How to Remove Jeep Doors - A Simple & Quick Guide The experience of driving your Jeep with its doors off - a fond memory of every Jeep owner. If you have done it before, you know that there's nothing quite like it, especially during the summer. Whether you're gearing up for some off-roading adventures or just craving that wind-in-your-hair sensation, knowing how to remove your Jeep's doors is necessary for every proud owner. Before we start, make sure to check your owner's manual to see if the doors of your specific model and trim can be removed - if they can, continue with the steps below. Needed Tools: Set of socket wrenches Phillips head screwdriver Door removal tool (or a flat-head screwdriver) A friend (optional but recommended for safety) Step 1: Prepare Your Workspace F ind a flat, even surface to park your Jeep. Ensure your parking brake is engaged and the transmission is in 'Park' (for automatic) or 'Neutral' (for manual).  Step 2: Disconnect the Wiring Harness Inside your Jeep's door frame, locate the wiring harness connector. Use the door removal tool or a flat-head screwdriver to gently pry the red tab upwards. Then, press the black tab to release the connector. Do this for both the electrical connectors. Pro Tip: Roll down the windows inside the doors so they don't get damaged! Step 3: Remove the Bolts Use your socket wrench to remove the bolts securing the door hinges to the Jeep's body. There are typically two bolts for each hinge. Make sure to keep these bolts in a safe place, as you'll need them when you decide to put the doors back on. Step 4: Lift and Remove the Door With the bolts removed, you can now lift the door off its hinges. It's a good idea to have a friend assist you, as doors can be heavier than they seem. Step 5: Secure the Mirrors (Optional) If you have side mirrors attached to your doors, secure them to the Jeep's body using the appropriate tools or brackets. A Few Safety Tips: Removing doors affects the vehicle's stability, so be cautious when driving at high speeds. Some states may have specific regulations about driving without doors, so check your local laws. Don't forget to reconnect the wiring harness when you put the doors back on. Congrats! Now you can drive your Jeep with an extra amount of cool points. With that said and done, whenever your trusty Rubicon or Grand Cherokee needs a few maintenance procedures or even repairs, just call us at Gerry's Service, and we will help!
29 Jul, 2023
What is the A/C Compressor Imagine a hot summer day, and you step into your car, hoping for that blast of refreshing cool air from your air conditioning system. But have you ever wondered about the magic behind this comfort? It's all thanks to a crucial component known as the A/C compressor. If you're wondering what role the compressor plays in the air conditioning system of your vehicle, keep on reading. The compressor plays a vital role in the air conditioning process by (you guessed it) compressing and circulating refrigerant gas. This magical transformation occurs within the compressor, where the low-pressure gas is squeezed and transformed into a high-pressure, high-temperature gas. Your A/C compressor doesn't just swing into action on a hot day. It dances to the rhythm of your car's cooling needs. When you turn on your air conditioner, the compressor receives a signal from the system to engage. It moves, pressurizing the refrigerant gas, which then flows through the A/C system to absorb heat from the cabin. As the heat is absorbed, cool air is blown into your car, bringing comfort to passengers on even the hottest days. The A/C compressor has a tough job, as it continuously works to keep you comfortable in changing conditions. Over time, wear and tear can occur, and regular maintenance becomes crucial to its longevity. Like any other car component, the compressor requires periodic inspection and servicing by a skilled technician. Catching potential issues early can save you from costly repairs down the road. Signs of a Faulty A/C Compressor If your A/C system isn't performing as it should, it might signal compressor trouble. Keep an ear out for unusual noises when you turn on the A/C, such as rattling or squealing sounds. Poor cooling performance, leaking refrigerant, or a faulty clutch are other signs of compressor problems. So, next time you enjoy the cool breeze on a scorching day, remember to thank the unsung hero, your car's A/C compressor, for turning the heat into cool comfort with every turn of the knob. For all your auto air conditioning service and repairs, turn to the experts at Gerry's Service in East Amherst, NY.
30 Jun, 2023
How to Diagnose and Fix a Slow Tire Leak We've all been there – waking up to a flat tire or noticing that it seems to lose air slowly over time. A slow tire leak can be frustrating, but with a little know-how, you can diagnose and fix the issue without breaking a sweat. In this blog post, we'll guide you through the process of identifying and resolving a slow tire leak, ensuring your wheels are roadworthy and safe. The first step in fixing a slow tire leak is determining whether the leak is indeed present. Start by visually inspecting the tire for any obvious punctures, nails, or screws embedded in the tread. If nothing is visibly amiss, move on to the next step. The Soap and Water Test Prepare a mixture of soapy water and apply it generously to the entire surface of the tire, including the valve stem. Carefully observe for any bubbling or foaming, as this indicates a leak. Pay close attention to the valve stem, bead area, and sidewalls. Inspecting the Valve Stem If you notice bubbles around the valve stem, it's likely the culprit behind the slow leak. In this case, tighten the valve stem cap and retest. If the bubbles persist, the valve stem may need replacement or additional tightening by a professional. Examining the Bead Area A damaged or improperly seated tire bead can also cause a slow leak. Inspect the area where the tire meets the wheel rim, looking for signs of damage, corrosion, or foreign objects. If necessary, consult a professional to reseat or replace the tire. If you're still experiencing a slow tire leak or require assistance with any tire-related issues, our expert technicians at Gerry's Service are here to help. Our skilled team has extensive experience in diagnosing and fixing tire problems efficiently and effectively. Whether it's tire repairs, replacements, or other automotive services, we're committed to providing top-notch customer service and ensuring your vehicle's optimal performance.
More Posts
Share by: